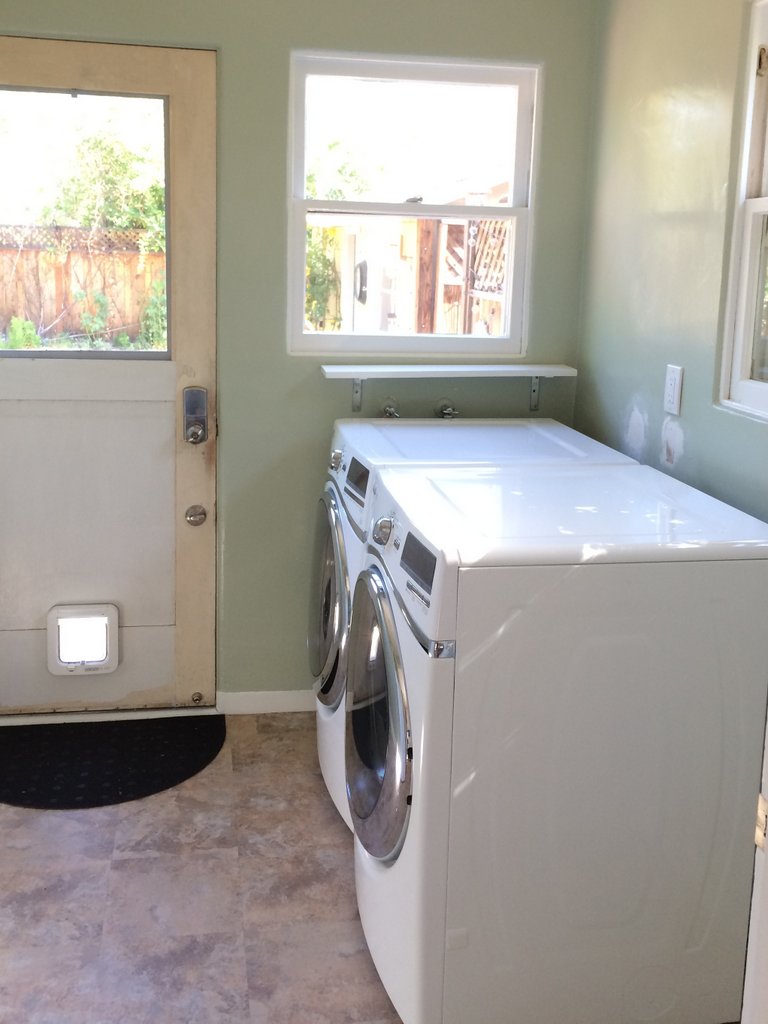
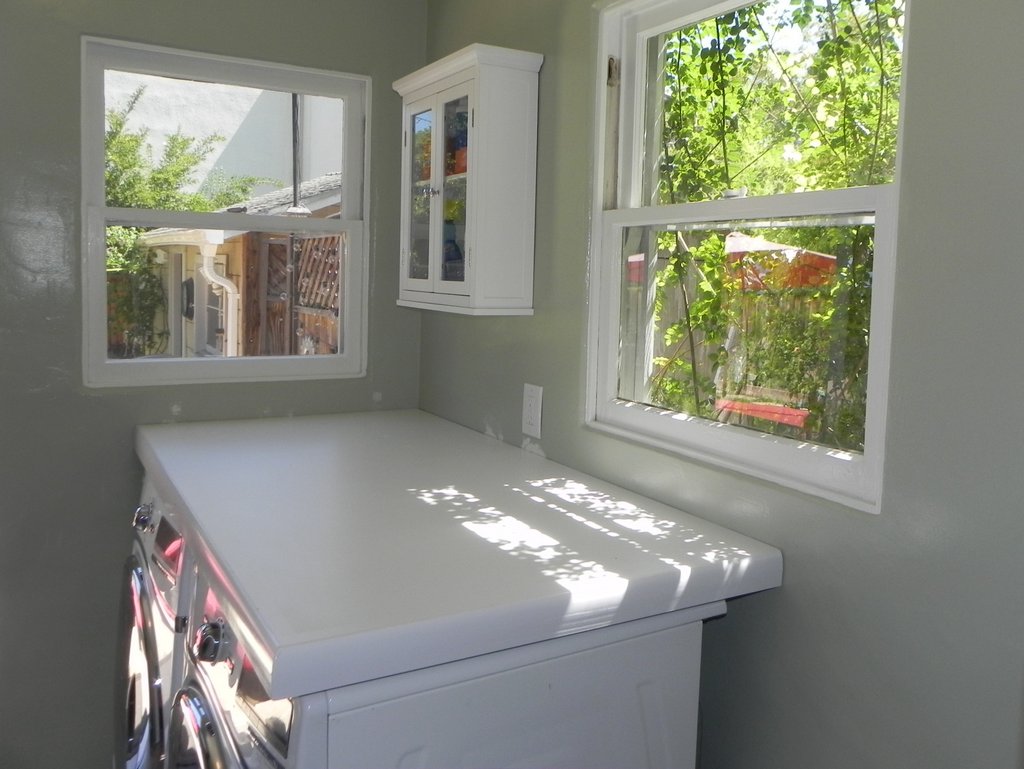
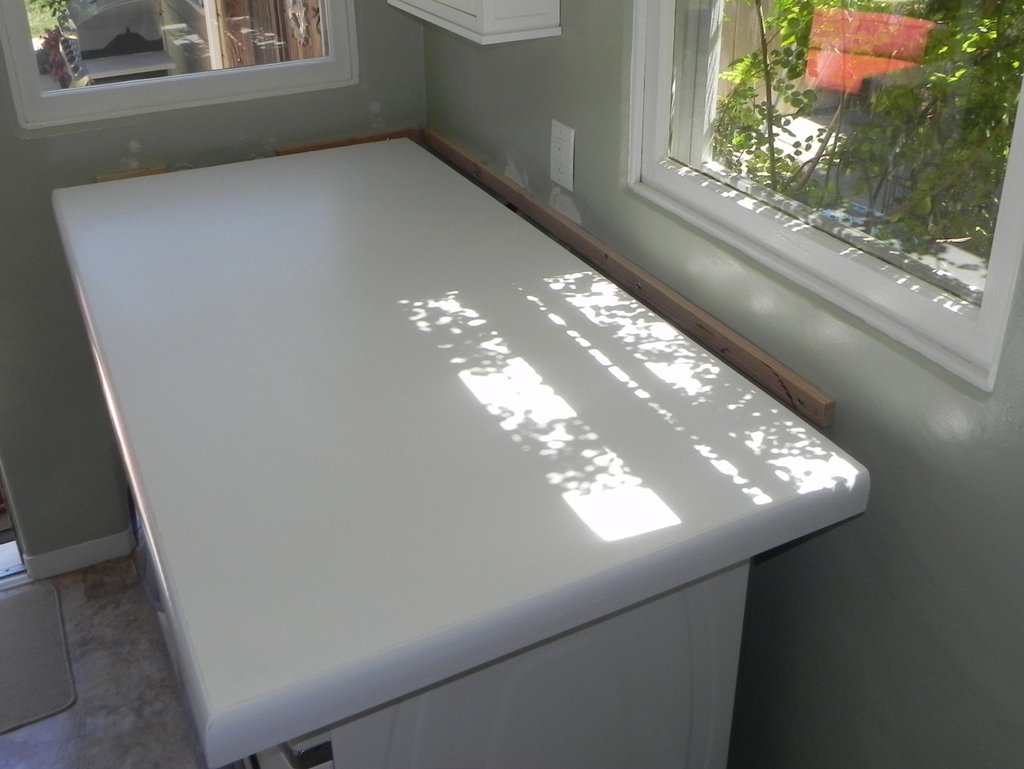
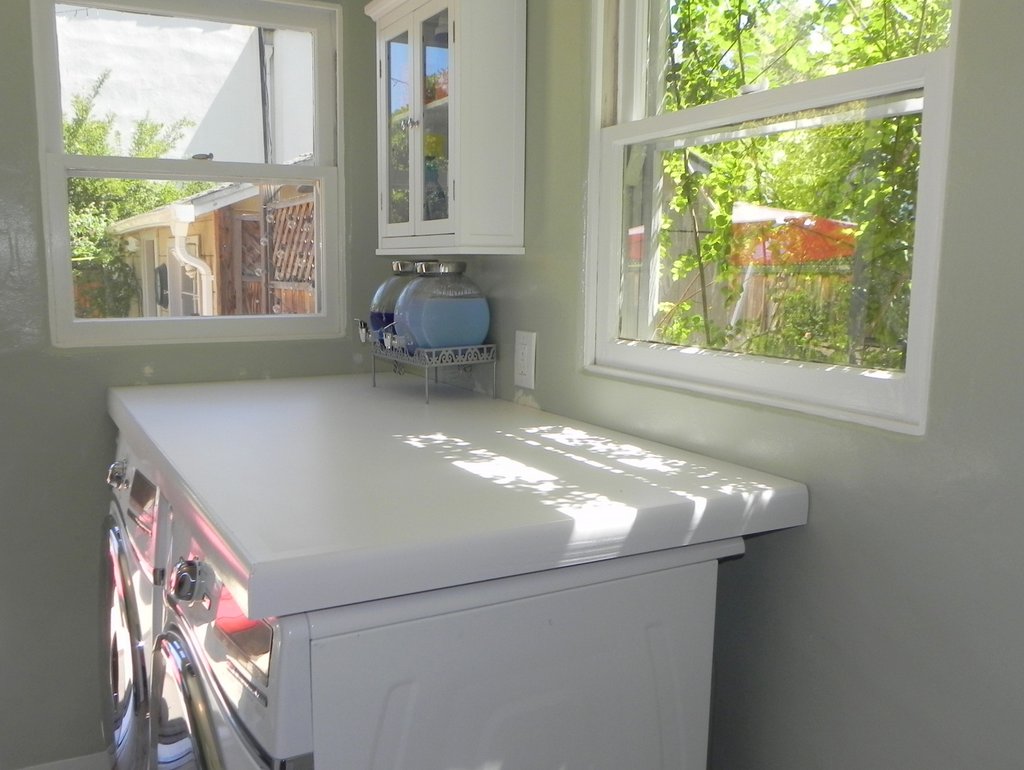
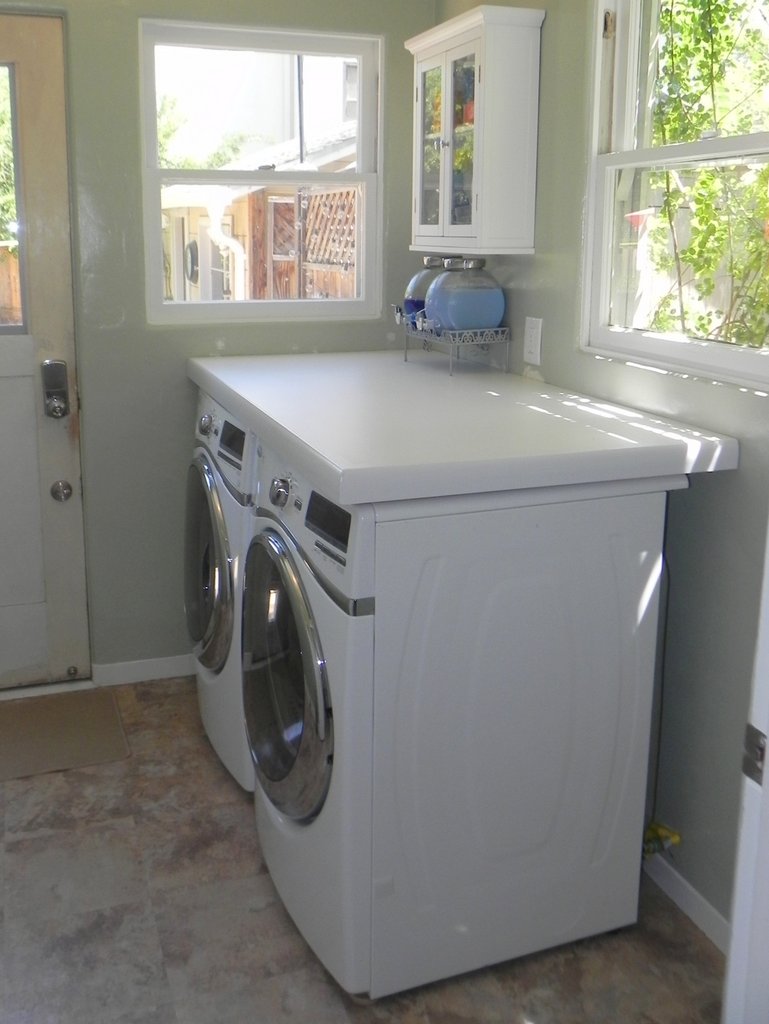
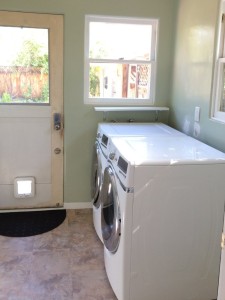
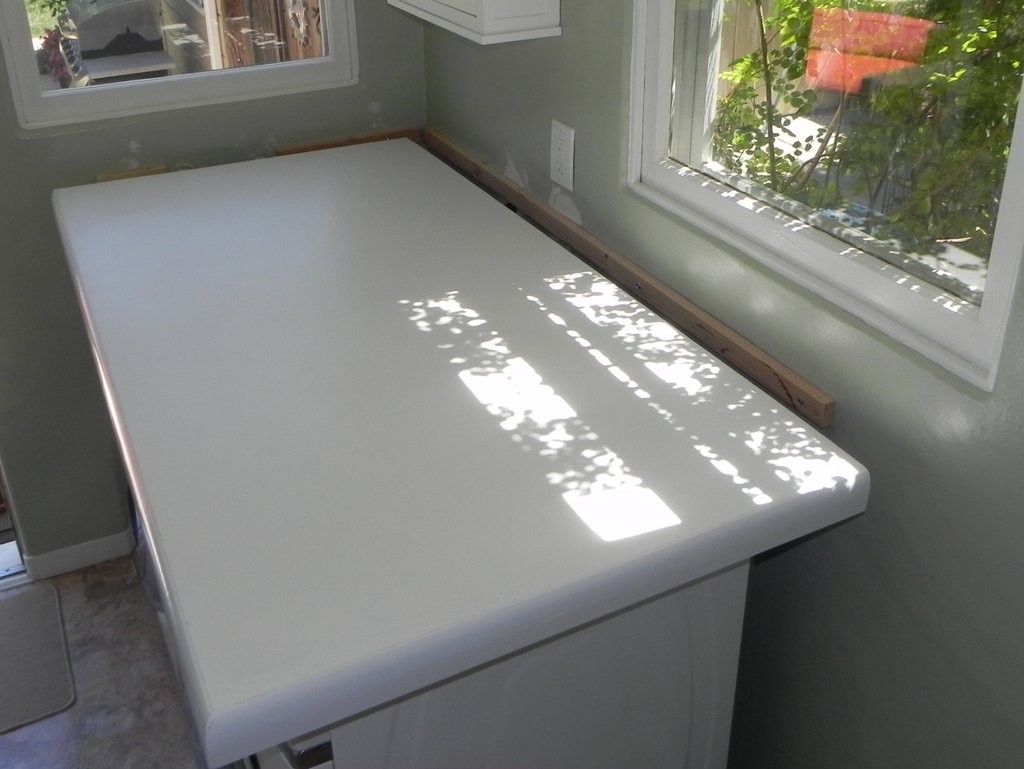
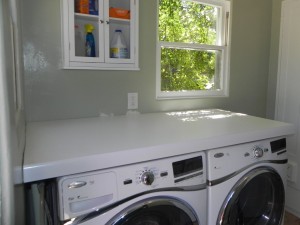
The laundry room needed a counter. I had quite a few requirements:
- It needed to go over the washer and dryer, and all the way to the left and back wall
- I wanted a smooth, clean surface where I could fold laundry
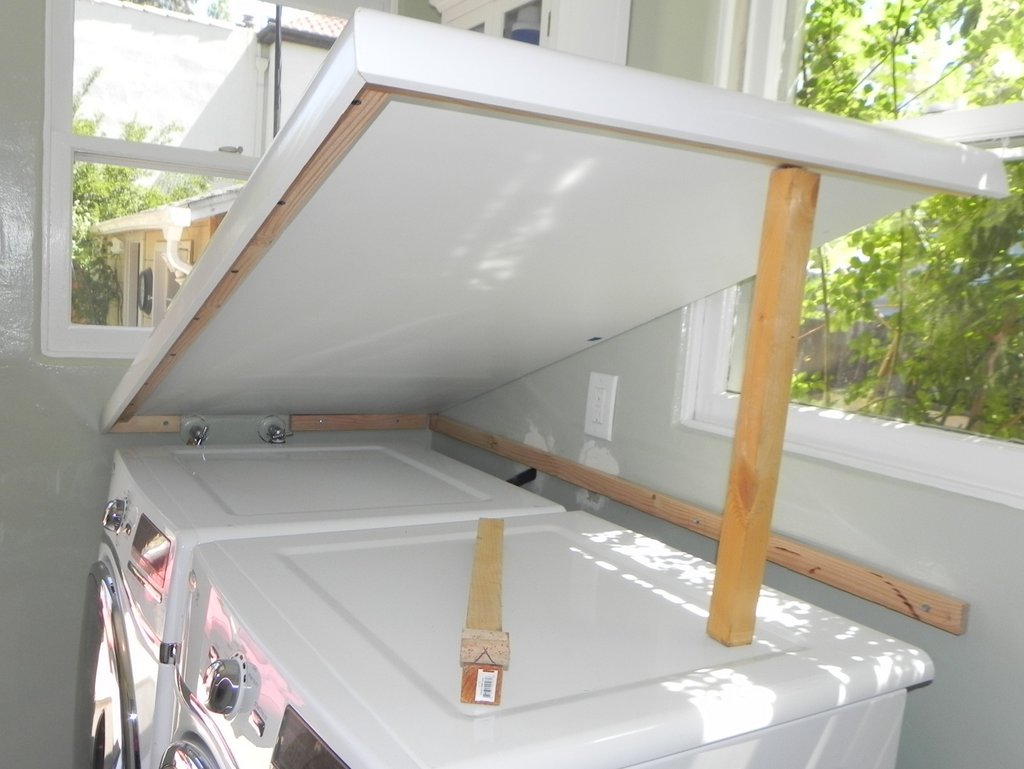
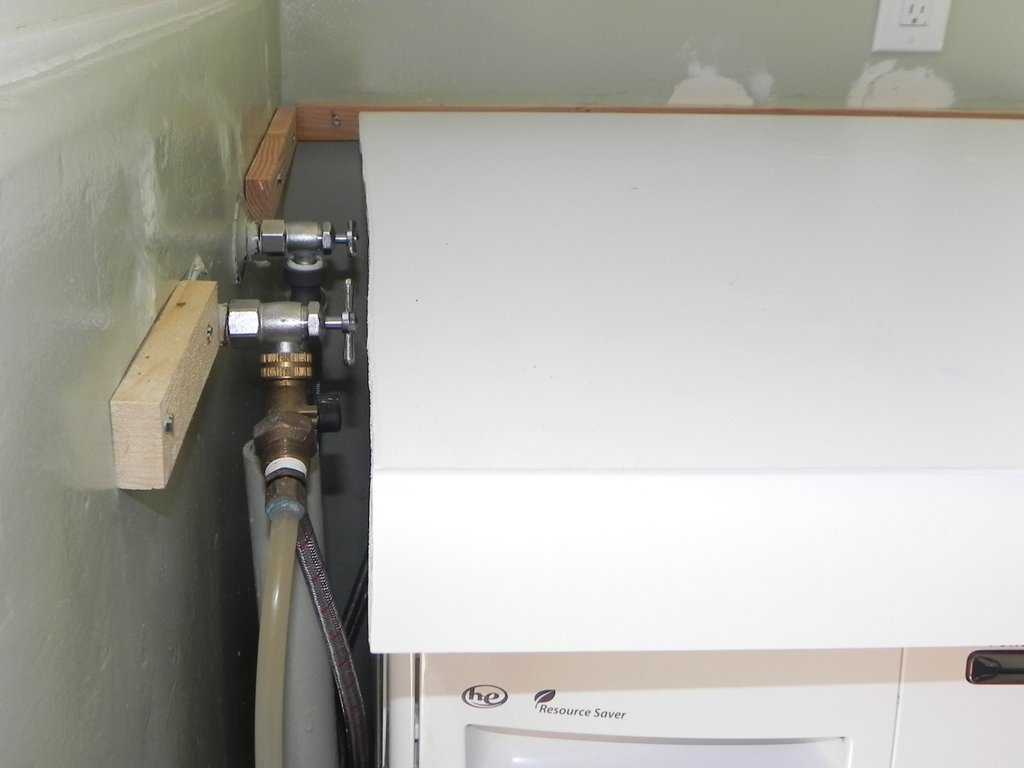
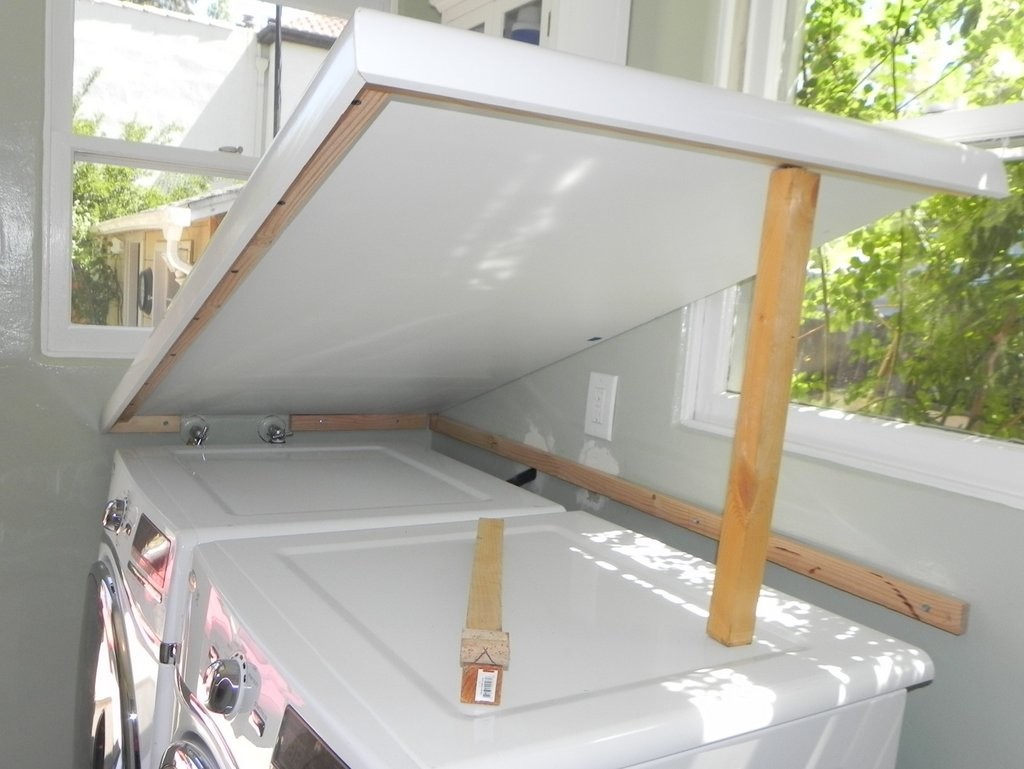
- It needed to be easily removable for cleaning, or to shut off the water valves
- I needed to be able to build it myself, and keep it as inexpensive as possible
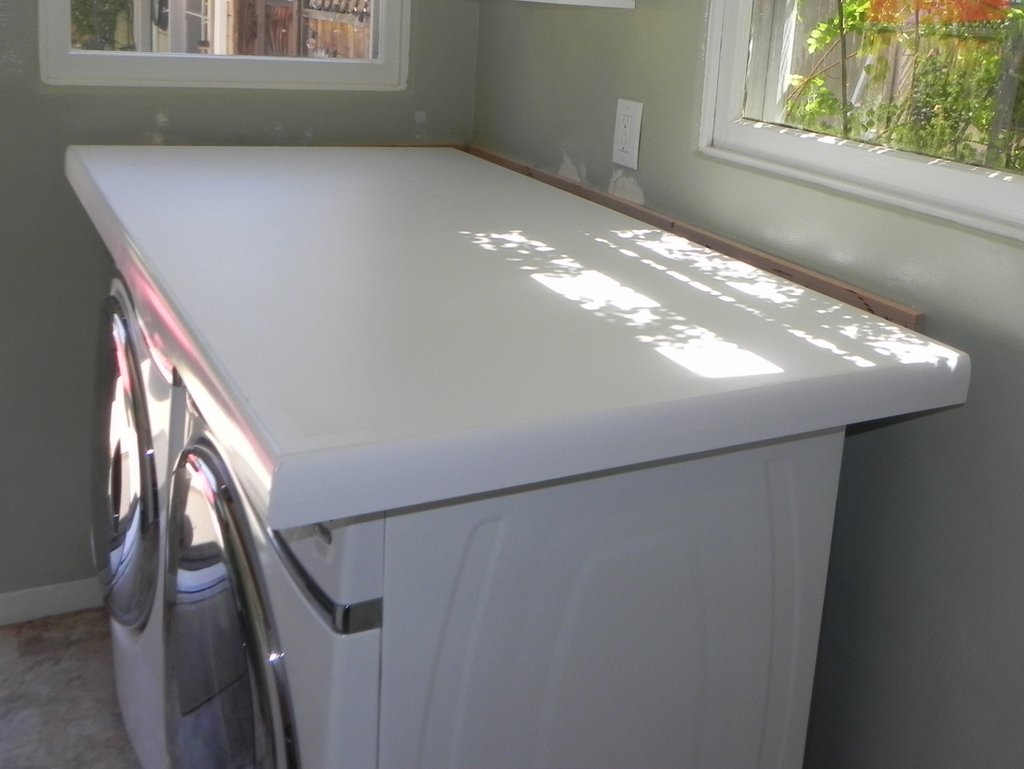
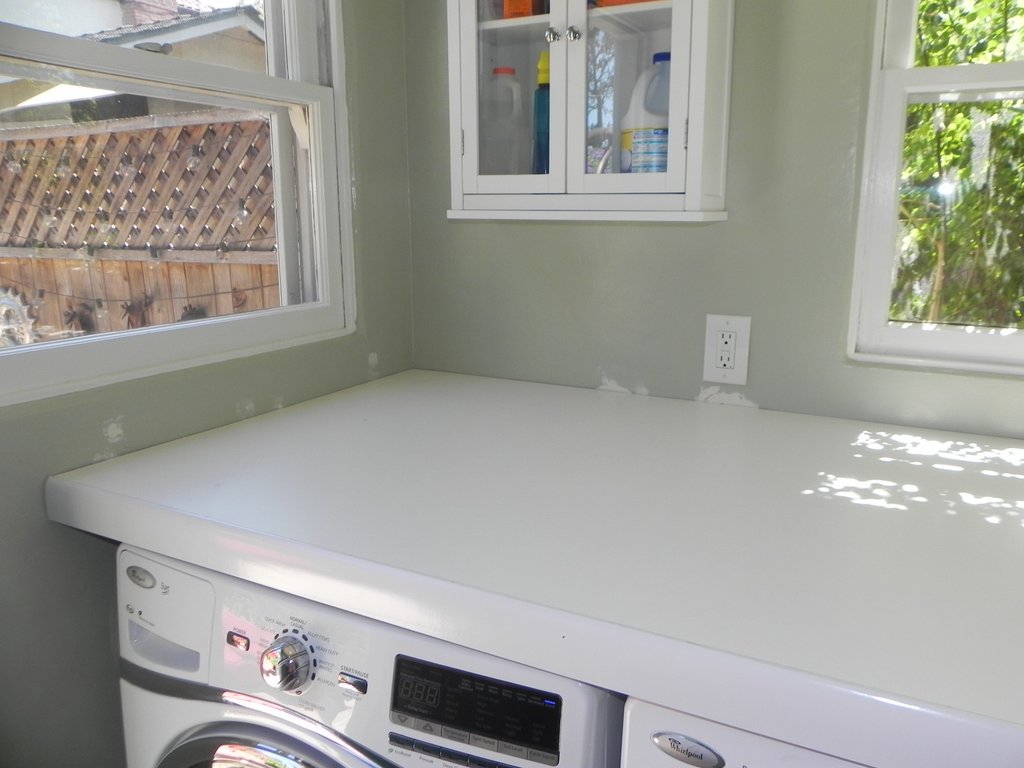
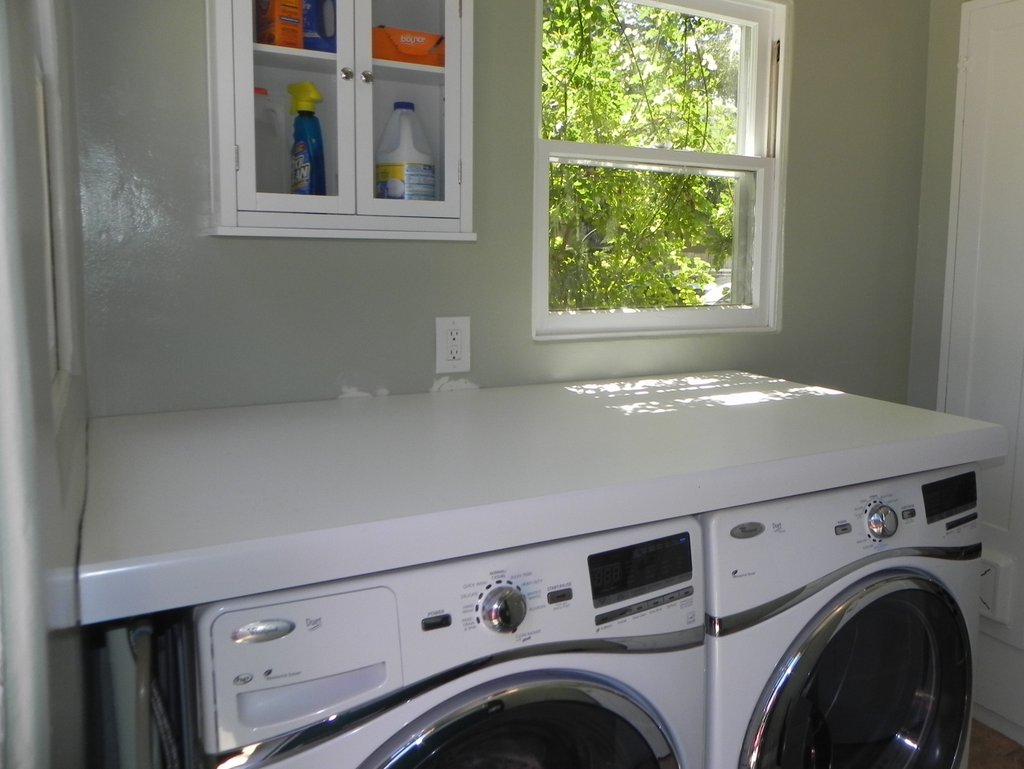
I wanted the counter to sit as low as possible, but there were a couple challenges. There was an electrical outlet at the exact height where the counter would meet the wall. And the water shut-off valves were just above the height of the washing machine. The water valves couldn’t be moved, but the electrical outlet could, so I had a handy friend move the outlet up about 4-inches, and patch up the hole where the old outlet was. You can see the patch in the photos, as I haven’t touched up the paint yet.
Materials List:
- Melamine counter top surface (white) – this comes in a 3/4″ sheet (4 ft x 8 ft). Home Depot sells it for about $36.
- Moulding for the edges facing the room – I used a simple pine baseboard moulding. Home Depot sells it for about $1.25/linear foot.
- Ledger (1 x 2 Furring Board Strip) – Make sure the boards are straight. Home Depot sells them for about $1 each.
- Screws – approximately 3″ to fasten the furring strip to the wall to create a ledger. I use drywall screws for everything.
- Screws – approximately 1 1/4″ to fasten the furring strip to the underside of the front (unsupported edges) of the counter. I used drywall screws here too.
- Finishing nails – to fasten the trim moulding to the countertop.
- Wood Glue – to secure the mitered corner of the trim moulding. Any kind should do.
- Spackle & Caulk (white)
- Sanding sponge (medium/fine)
- Primer and paint – for the trim moulding (I used spray paint for both)
- Painter’s tape – for masking off the counter top when painting the trim moulding.
Tools:
- Table saw with a good finishing blade (melamine chips easily when cut)
- Miter saw
- Cordless drill w/ drill bits and screw drive tips
- Level
- Clamps are handy
- Putty knife
Building Instructions:
- Determine Height – Mark the desired finished countertop height on the wall. The countertop is 3/4″ thick, so make another mark 3/4″ below the first mark. This bottom line is the height for your ledger board. Draw a line at this height along the length of the wall where the counter will be. Do the same on the side wall if the counter will be touching that wall too.
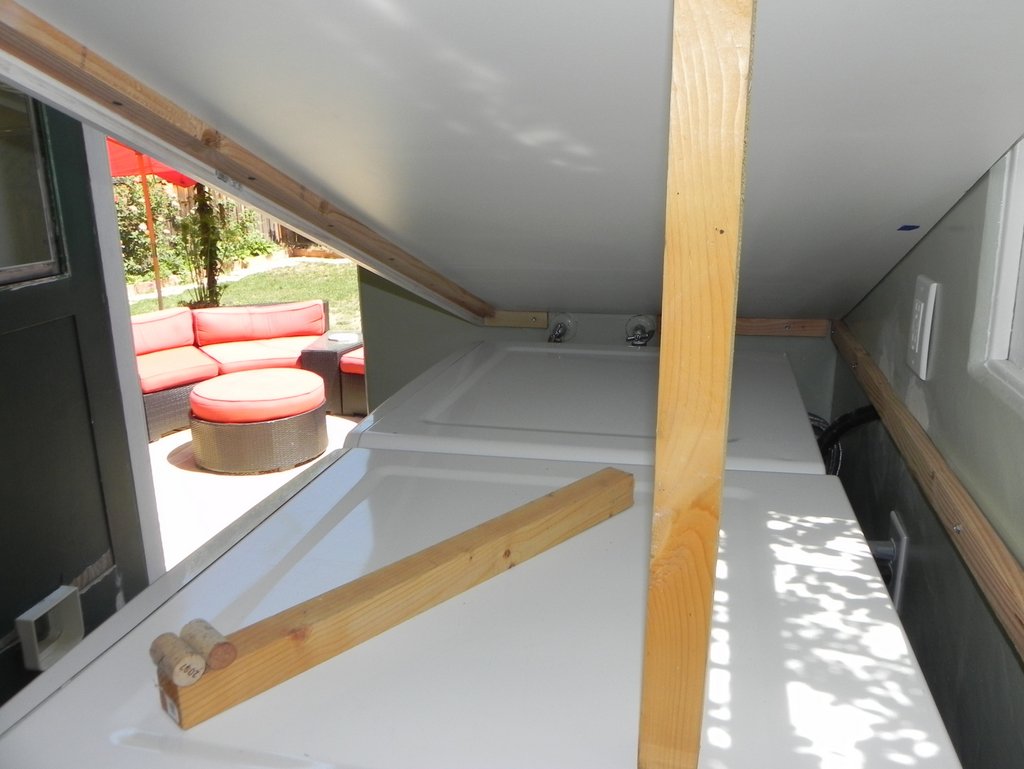
- Install Ledger Board – Find the studs (and check for pipes and wiring), and using the 3″ screws, fasten the ledger board to the wall, screwing into the studs, making sure the ledger boards are level. Leave a 2″ gap at the ends where the finished edge of the counter (with the trim moulding) will be touching.
- Measure & Cut Melamine – If desired, make the counter 1/2″ to 3/4″ longer and deeper so that the front edge overhangs just a little bit. Protect the melamine when cutting so it doesn’t get scratched by the saw or blades. Cover the cut line with painter’s tape before cutting. Do a test cut first to ensure the blade cuts cleanly and doesn’t chip up the melamine. Gently sand the cut edges to prevent scratching the walls.
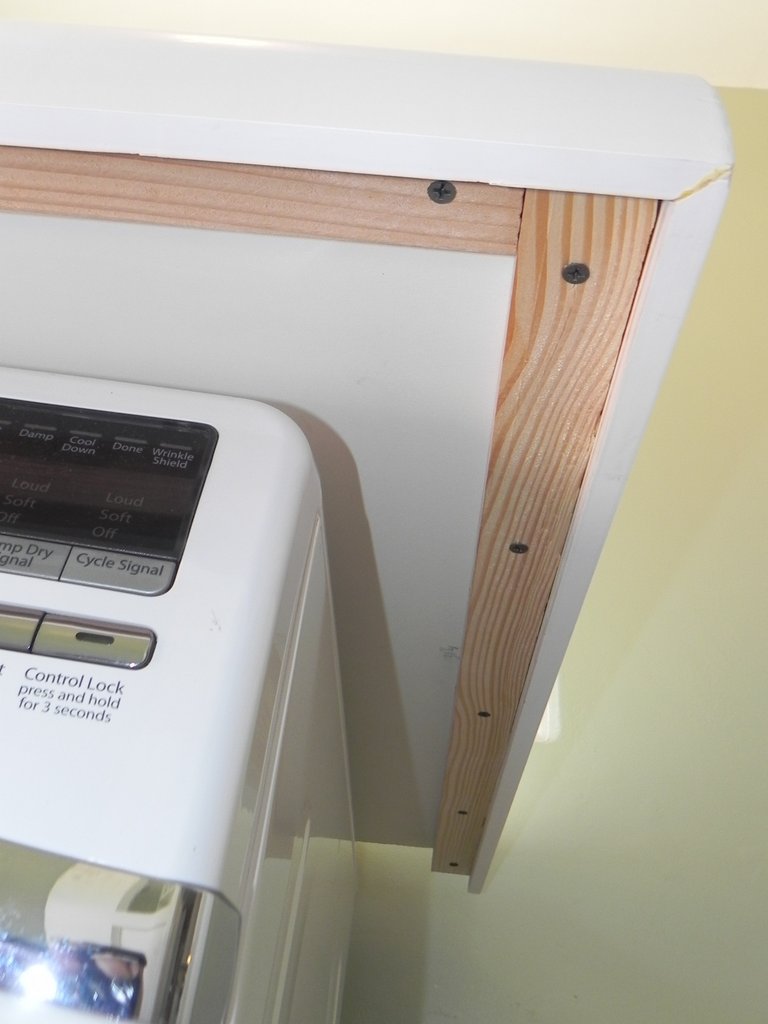
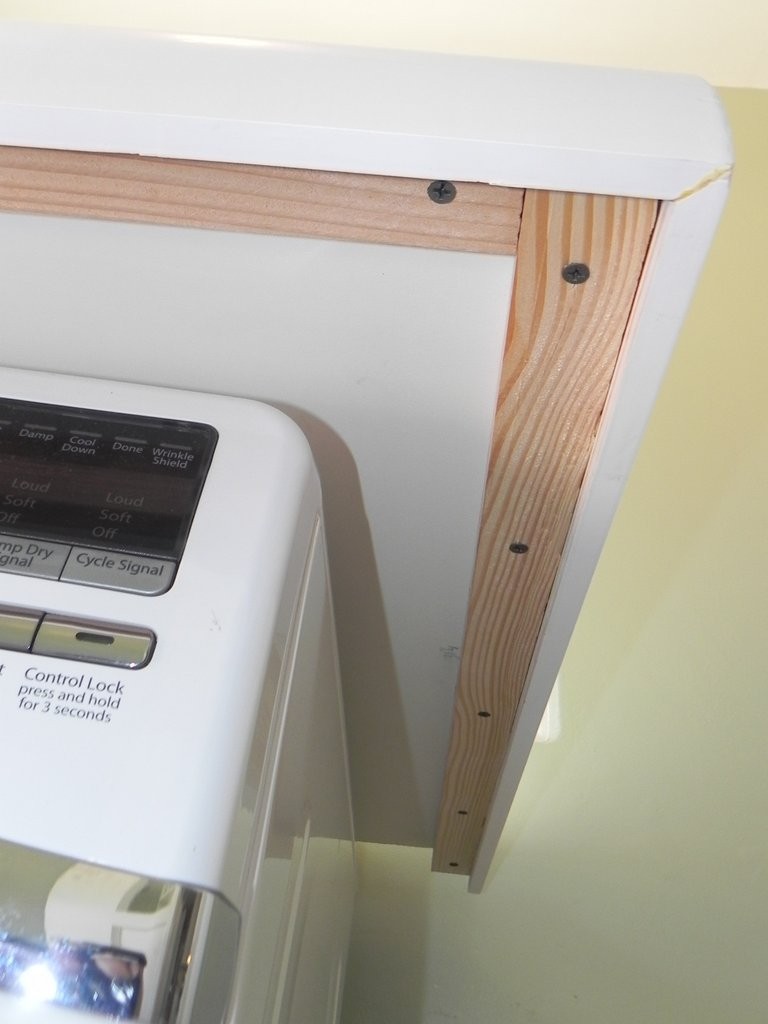
- Install support furring board to front edges of counter top. Any edges that won’t be resting on the ledger board should have furring board screwed to the underside edge. Do a test on a scrap piece of melamine before proceeding, and ensure that your screws are the correct length and don’t puncture through the top of the melamine. Screw from the bottom up, so the screws don’t show. Pre-drill the furring boards if needed.
- Cut the moulding – If a corner is required, use the miter box or a miter saw to cut the angle.
- Fasten the moulding to the furring boards. I borrowed a nail gun, I wouldn’t attempt this with a hammer and finishing nails (I know I’d make a mess of it). Again, test on scrap pieces to determine the correct nail depth. Glue before fastening, especially at the corner. Wipe off excess glue when nailing is completed.
- Fill the gap between the moulding and the countertop with caulk. Mask with tape before applying caulk for a clean line. Remove tape immediately after caulk is applied and smoothed – don’t let the caulk dry to the tape. Reapply new tape if a second caulking is required.
- Fill nail holes with spackle. Dry, lightly sand, repeat as needed.
- Mask the countertop with tape and newspaper, leaving just the moulding exposed. If you plan to spray paint the moulding, make sure the newspaper is super tight and fastened down very securely, as paint will blow in between the sheets of paper.
- Primer and Paint – lightly sand between coats
